The saying “a picture is worth a thousand words,” may need to be updated to say that a screen capture or screen shot says a thousand words, because so many professionals rely on their Macs to capture an image or video of their screens to share.
If you are a Mac user who’s looking for the quickest, most straightforward way to take screen captures and screenshots on Mac, I’ve got you covered.
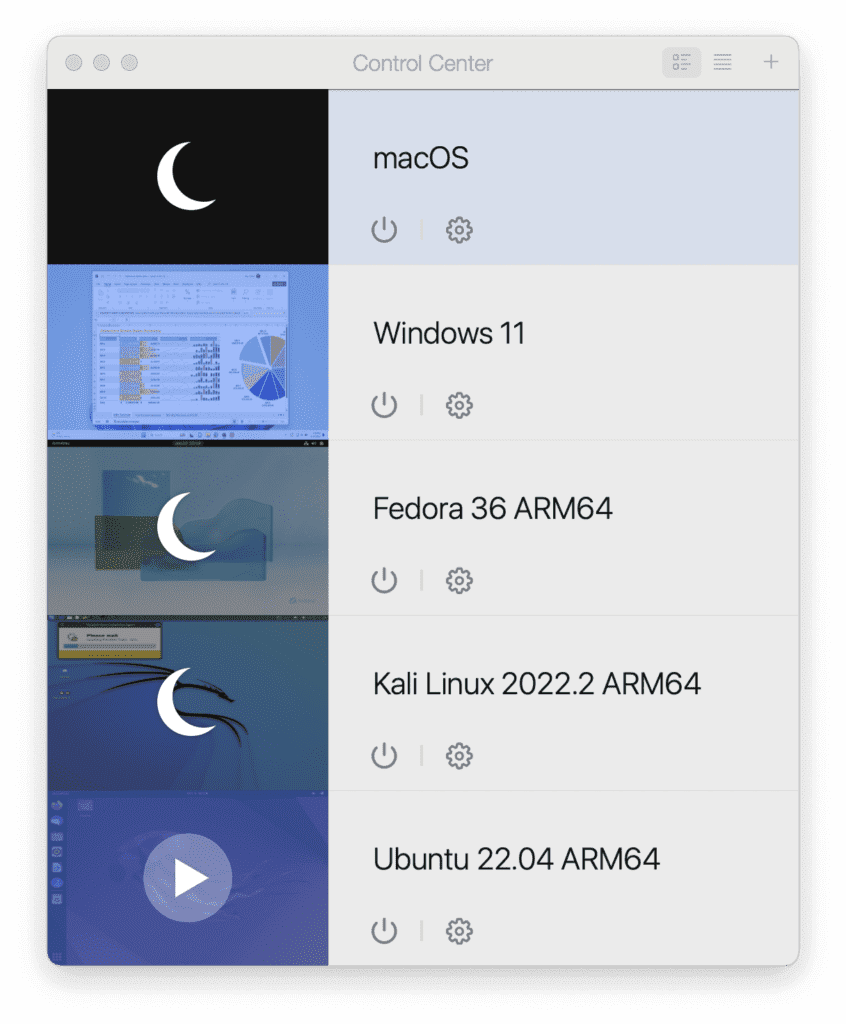
Ready to capture screens and snap screenshots on your Mac? Get started with Parallels Desktop with a 14-day free trial.
5 ways to take a screenshot on Mac
There are five ways you can capture screenshots using your Mac.
Unlocking your Mac’s full potential goes beyond knowing how to open a browser and finding your favorite apps.
Learning how to capture and share what’s on your screen effectively can streamline your workflow, improve collaboration, and help you share your creativity.
Let’s look at several methods for capturing screenshots on your Mac like a pro.
1. Capture a portion of your screen
The simplest and most commonly used way to capture a screenshot is to use the Command-Shift-4 keyboard shortcut.
This method is like the snipping tool you may be familiar with from using PCs.
Here is how to take a screenshot of a portion of your screen on Mac:
Press Command-Shift-4 to change the pointer to a crosshair.
Select the area of the screen you want to capture by dragging the cursor.
After releasing the mouse button, the screenshot appears as a PNG image on your desktop.
You can use it as a supporting image in a blog or social media site or send it as an email attachment.
2. Capture your entire screen
This shortcut captures your entire screen, making it useful when you want to show what’s happening on your screen or share an error with IT support.
Other tabs and chat boxes will be visible in the screenshot, so be sure to close out anything that you don’t intend to share.
Here’s how to take a screenshot of your entire screen on Mac:
Press Command-Shift-3 to take a screenshot of the entire screen.
The screenshot will appear as a PNG image on your desktop.
You can then upload it to a messaging platform like Slack or Teams or add it to an email.
3. Take a screenshot of a single active window
Highlight a dynamic feature, like the menu bar with an item selected.
Active screenshots are great for creating tutorials, documenting interactions with software or websites, or similar dynamic processes.
Here’s how to copy a screenshot of an active page on Mac:
- Press Command-Shift-4 to change a pointer to a crosshair.
- Tap on the spacebar on your keyboard. The cursor will change to the camera icon.
- Select the active application window you want to capture by moving your cursor and highlighting the active window.
- Click the mouse button on the window you want to capture. The screenshot will appear as a PNG image on your desktop.
Alternatively, you can paste the screenshot by navigating to the location you want to share the image (Slack, Teams, etc.) and press Command-V.
4. Customize your screenshot or record your screen
This shortcut lets you capture a customized screenshot by selecting the size or window to screenshot. It also gives you easy access to the recording button.
Here’s how to customize your screen or record on your screen on Mac:
- Press Command-Shift-5. A clip box with a white-gloved hand will appear on your screen
- Drag the corners of the box to select the sections you want to screenshot.
- Use the options at the bottom to adjust your screenshot. Select the entire screen, choose a different window, or use the recording button to take a video of all or a portion of your screen.
The screenshot or recording file will appear on your desktop.
5. Take a screenshot of your Touch Bar (if available)
In some cases, you may need to take a screenshot of the items in your Touch Bar.
While this is a less common application, it can be helpful if you are working with IT support or writing a detailed tutorial.
Here’s how to take a screenshot of the Touch Bar on a Mac:
- Open System Preferences and select Keyboard.
- Click on “Customize Control Strip” and drag the Screenshot button to your Touch Bar.
Use this button to take screenshots as needed.
How to screen capture an active window on a Mac
Using the screenshot menu
You can screen capture an active window by performing the following steps:
- Open the Mac screenshot menu by pressing Shift + Command + 5.
- A small bar will appear at the bottom left of the screen with three icons. Choose whether to screen capture a specific window, a highlighted section, or an entire screen.
- Click the “capture” button when you’ve selected the area you want.
- Choose where you’d like to save the screen capture, the length of time you want to record, and more in the Options menu.
Without using the screenshot menu
If you’d like to take a screen capture in an active window without using the screenshot menu, follow these steps:
- Click Shift + Command + 4.
- Click and drag the crosshair cursor to create a highlighted section. When you let go of the mouse, you’ll have the screen capture on your Mac’s desktop.
How to take a screen recording on a Mac
There are several ways to take a screen recording on your Mac.
Using the Screenshot toolbar
- Press Shift + Command + 5 to record the entire screen, a portion that you select, or a still image.
- Click “Record Entire Screen” or “Record Selected Portion” option.
- When you’re ready, click “Record” or press Command + Control + ESC to stop recording.
Using the QuickTime player
You can also take a screen recording using the QuickTime player.
- Start by opening the QuickTime player.
- Select File > New Screen Recording. This will bring up the screen recording toolbar.
- Use the options menu to choose what to record, including the area you want to record or the entire screen. You’ll have to select the area prior to clicking the record button.
- You can also choose to use your own voice over with the built-in microphone or if you want mouse clicks to show in the recording.
- Choose where to save the recording at this point as well.
- To begin, click the record button. To stop the recording, click the stop button or press Command + Control + Esc.
How to use the snipping tool for a Mac Screen capture
To use the built-in snipping tool on a Mac, you can use the following keyboard shortcuts or the Screenshot app.
Keyboard shortcuts
- Command + Shift + 3 = capture the entire screen and save to the desktop
- Command + Shift + 4 = capture only a selection portion of the screen
- Command + Shift + 4 + Space = capture a window.
Press the Control key combined with any of the above screenshot shortcuts to save the screen capture to the clipboard.
Using the Screenshot app
To use the Screenshot app to access the Snipping tool on Mac, open the app and select whether to capture or record.
Click on Options to set a length of time to record and where to save the file.
Click capture or record to start and stop to finish.
Editing screen captures on a Mac
To edit the screen captures you take on a Mac, right click on the screenshot or capture and choose to open it with Preview.
From there, you can crop, mark up, resize, or otherwise annotate the screenshot.
What happens if the screen capture area tool or screenshot app isn’t working on macOS?
Sometimes the keyboard shortcuts may not work on your Mac.
You press the buttons or make the right clicks, but nothing happens.
There are a few reasons why this might happen — and it’s usually related to your settings.
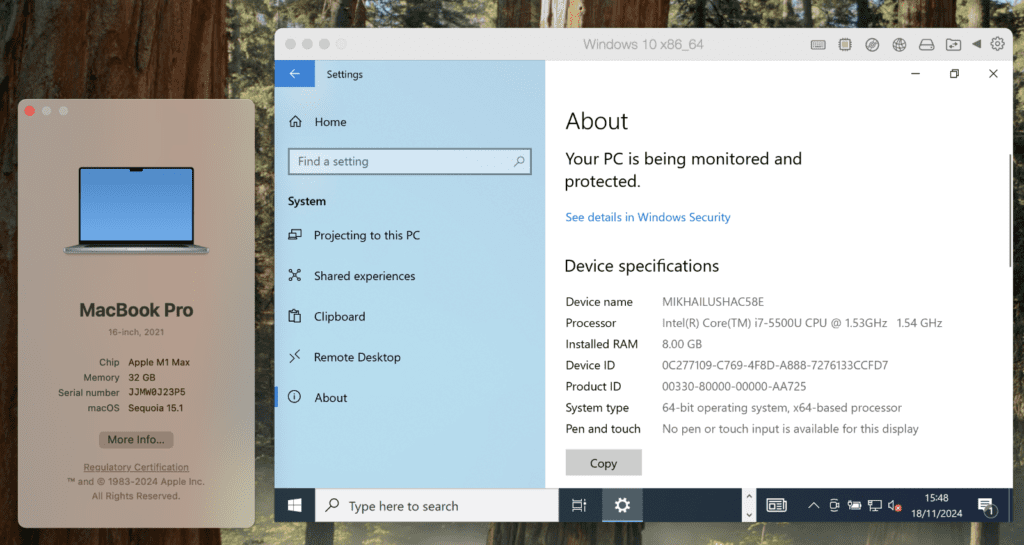
Parallels Desktop users, for example, may find that updating their MacOS makes tools that worked previously stop working.
In this case, you’ll need to give Parallels Desktop permission to record the screen.
If you are a Mac user, the issue might be your system settings. Start by navigating to the Apple menu, then select:
System setting > Keyboard > Keyboard shortcuts > Screenshots
Make sure all the items on the list are checked off. Try the shortcuts above again, and you’ll likely find they work.
How do you take a screenshot on a Mac without pressing buttons?
What if you don’t have a keyboard or your keyboard isn’t working?
Good news—you can still take a screenshot using just your mouse!
Here’s how:
- Select the Finder icon in your Dock (that’s the little blue and gray face).
- Choose “Applications,” then find the “Utilities” folder.
- Within the Utilities folder, you’ll see a camera icon labeled “Screenshot.” Double click.
- The tool will open, allowing you to use the same options as Command-Shift-5, including adjusting your screenshot, taking a recording, and other actions.
Another option is to add a screenshot tool to your Touch Bar:
- Navigate to System Preferences > Keyboard > Customize Control Strip.
- Drag and drop the screenshot button to the Touch Bar.
How to save your screenshots and screen captures directly to your clipboard on Mac
Want to save your screenshots to your clipboard to copy and paste elsewhere? You can save your screenshots directly to your clipboard instead of saving them as files on your desktop.
This is useful if you want to paste the screenshot into another application, such as an email, document, or image editor.
Here’s how to do it:
- To capture your entire screen and save it to your clipboard, press Control + Shift + Command + 3.
- For a selected portion, press Control + Shift + Command + 4, then select the desired area.
- For a specific window, press Control + Shift + Command + 4, then press the Spacebar, then click the window.
Then you can paste the screenshot into your document or image editor using Command + V.
Why would you need to capture your screen or take a screenshot on a Mac?
Taking a screenshot on a Mac is easier than ordering takeout, thanks to the different shortcuts offered.
With just a few taps, you can take a screen capture to share with coworkers, add to a blog post, or save a favorite image or photo.
You can use screenshots, screen captures, or screen recordings to help troubleshoot technical issues, or create tutorials, demos, and how-to guides.
Screen captures facilitate connection and engagement. Your audience sees what you see.
Technical teams, such as developers collaborating on code or app testing, can provide instant feedback and address gaps in performance or functionality.
Sending a screen capture reduces time and frustration attempting to both describe and understand a problem for a team member and the IT department.
Demonstrating workflows, features, and user interfaces in a recording are more effective and appealing for both internal and external users, because they can understand how things are done by seeing it happen.
Streamline your day by mastering the Mac screenshot or screen capture
The screenshot and screen capture option on Macs are a simple but essential process. Knowing how to quickly snag a screen capture helps improve collaboration at work, trouble technical issues, or share moments of creativity. Or just to save a hilarious picture or meme for later!
Knowing these shortcuts and screenshot tricks will help you work faster and more efficiently.
Ready to capture screens and snap screenshots on your Mac? Get started with Parallels Desktop with a 14-day free trial.